README
This README is the one indexed from the repository at its latest ref, not from the tag for this version.
cruml





[!WARNING] This tool is under development, it is not completely finished.
cruml (Crystal UML) is a tool that allows to generate an UML diagram. This is useful for all projects using the Crystal language that need to know their structure.
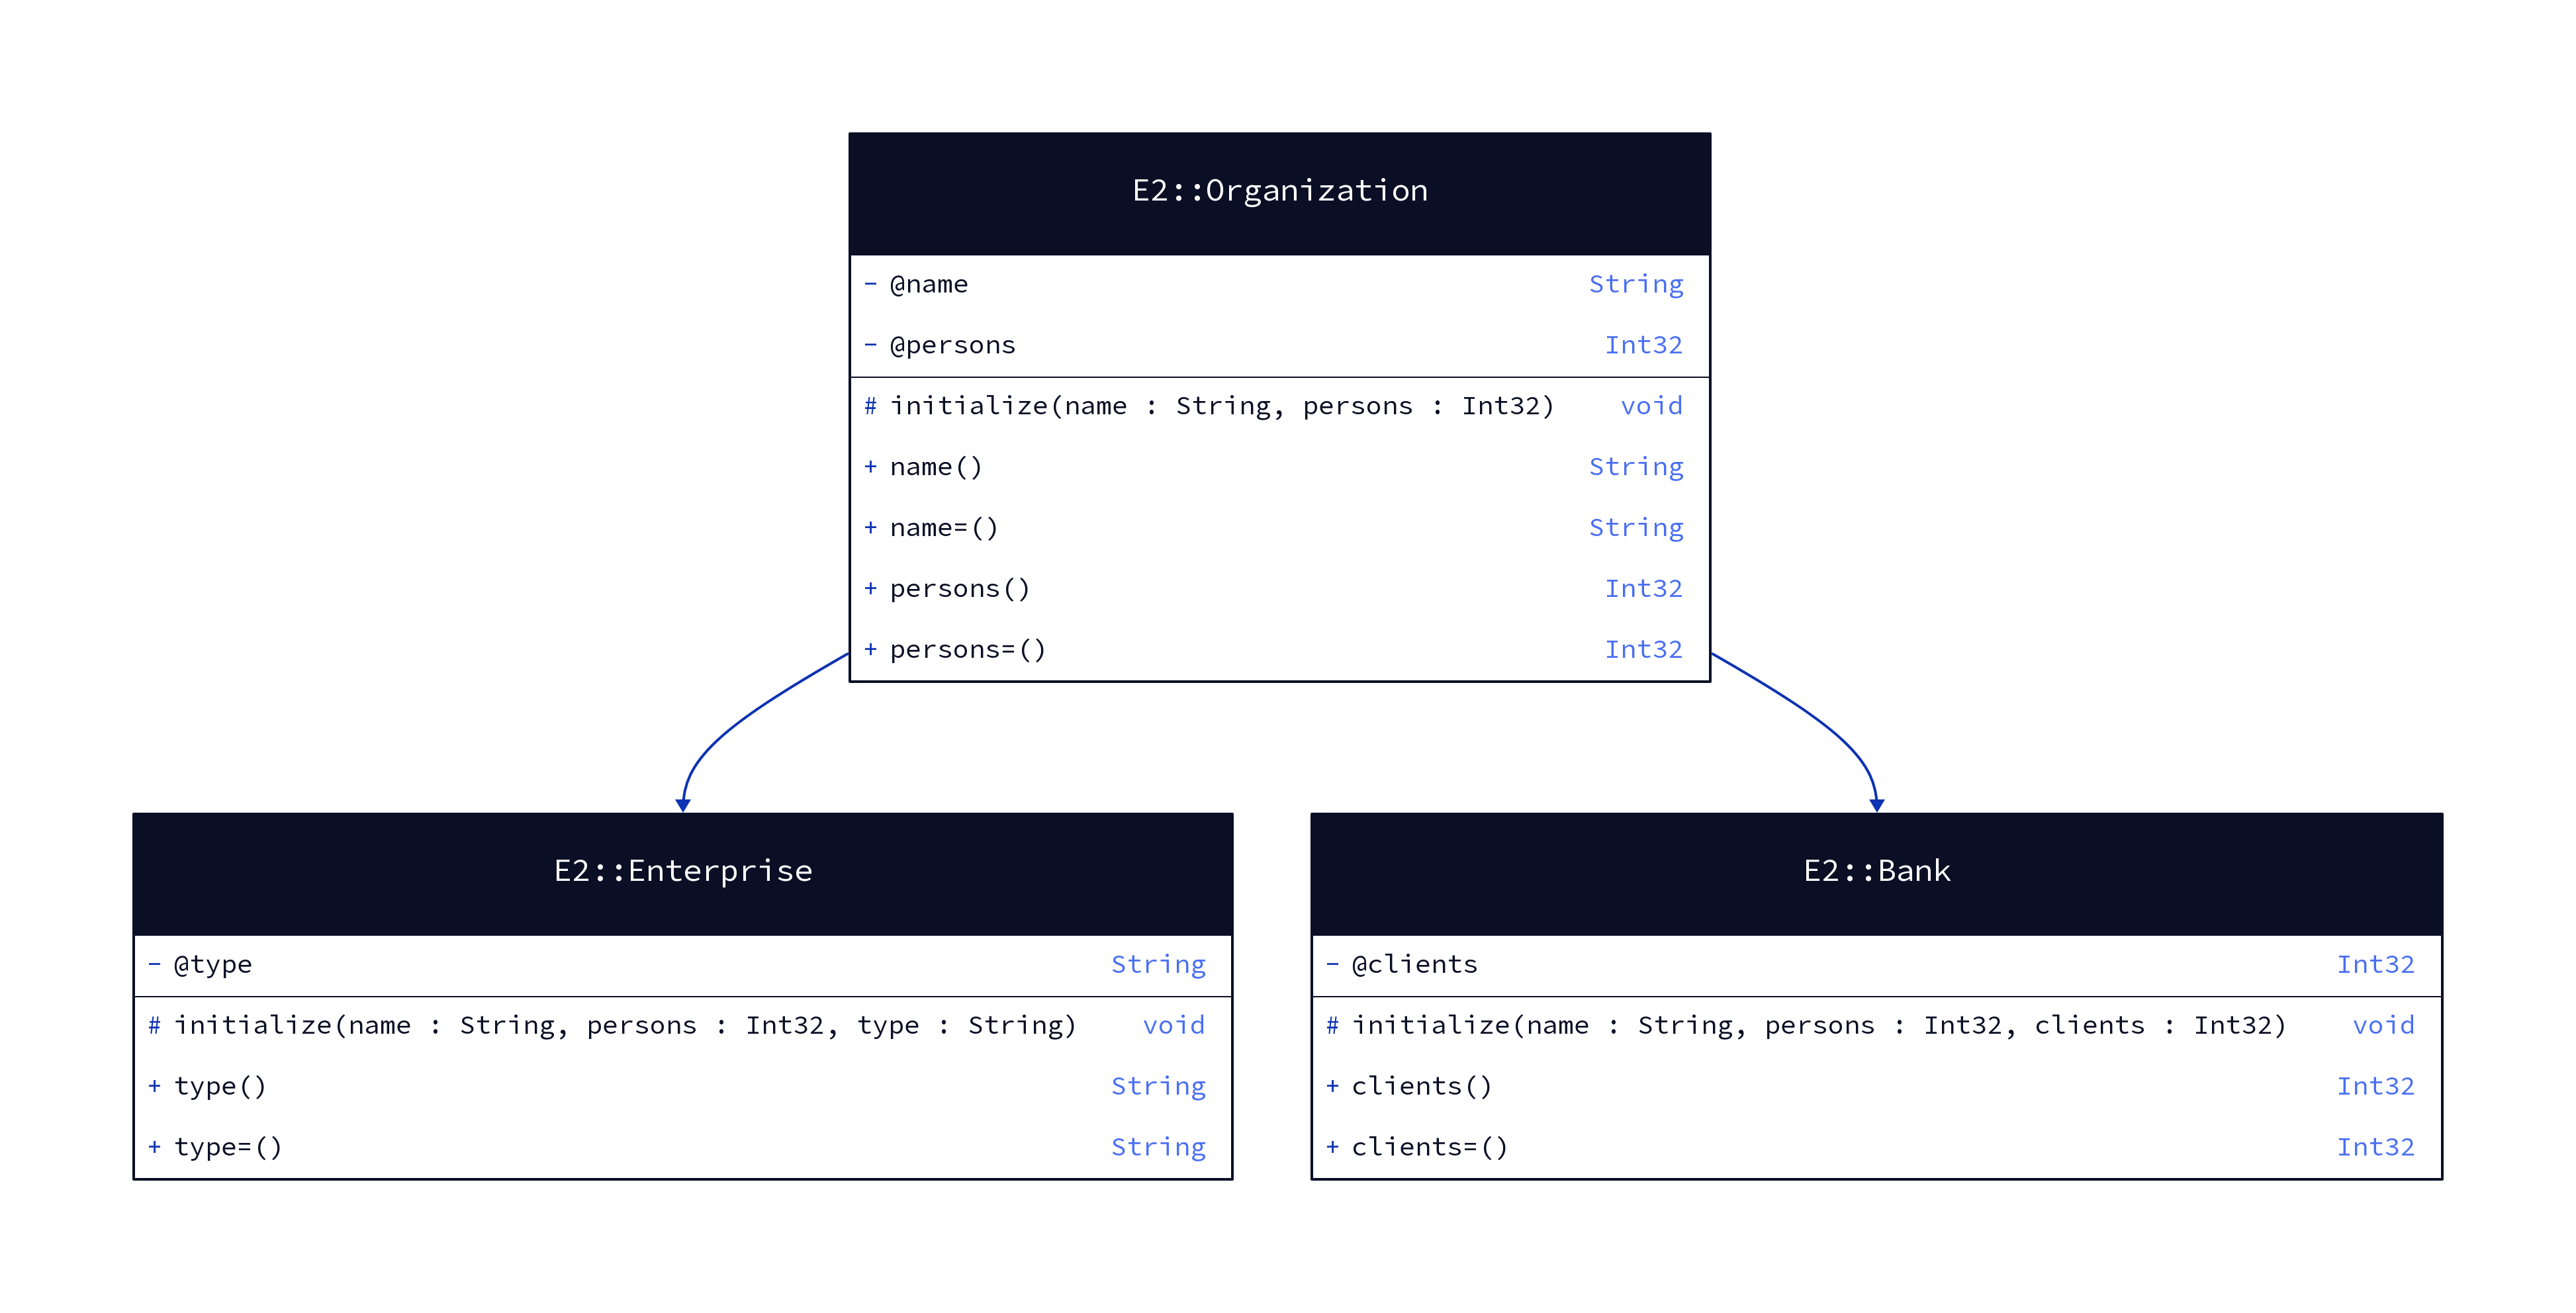
An UML class diagram representing the parent class linked to child classes.
Requirements
To do this, d2 should be installed in your machine.
Documentation source : https://d2lang.com/tour/install#install-script.
Compatibilities
Here is the compatibility table:
| Cruml version | Crystal version |
|---|---|
| v0.8.x | from v1.16.x to v1.18.0 |
| v0.7.1 | v1.16.x and v1.17.x |
| v0.7.0 | v1.16.x |
[!NOTE] Table is subject to change.
Installation
- Add the dependency to your
shard.yml:
development_dependencies:
  cruml:
github: tamdaz/cruml- Run
shards install:
Once this tool installed, this will build a binary into bin/ directory in your project.
Usage
Usage : cruml [subcommand] [arguments] -- [options]
    config                           Configuration
    generate                         Generate the class diagram
    -v, --version                    Show the version
    -h, --help                       Show this help
Usage : cruml generate [arguments] -- [options]
-v, --version Show the version
-h, --help Show this help
--verbose Enable verbose
--dark-mode Set to dark mode
--no-color Disable color output
--path=PATH Path to specify
--output-dir=DIR Directory path to save diagramsExamples
For example, to generate a diagram with Crystal files from the src/models directory:
bin/cruml generate --path="src/models"To generate a diagram with one Crystal file:
bin/cruml generate --path="src/models/user.cr"[!TIP] You can use multiple
--pathflag to include several files or directories.
In addition, you can set your diagram to the dark mode thanks to --dark-mode flag:
bin/cruml generate --path="src/models" --dark-modeIf you don't want to colorize the diagram, you can use the --no-color flag:
bin/cruml generate --path="src/models" --no-colorConfiguration
Flags are useful to generate the class diagram. In addition, you can use the YML config file to group namespaces, customize the color of the classifiers and add paths.
# Customizable colors to style the classifiers.
colors:
  light:
    classes: "#5016bb"
    abstract_classes: "#5ea012"
    interfaces: "#e28b19"
    modules: "#1158f3"
  dark:
    classes: "#2e1065"
    abstract_classes: "#365314"
    interfaces: "#af6300"
    modules: "#0041cc"

# Path to parse all Crystal files.
paths:
  - src/entities
  - src/controllers
  - src/services

# Specify the namespace for grouping the classes (recommended for organizing the class diagram).
namespaces:
  MyNamespace:
    - App::Services::ClassOne
    - App::Services::ClassTwo
    - App::Services::ClassThree
Thanks to this YML config, you will not need to use flags in the CLI, just run bin/cruml generate.
Troubleshooting
- The d2 program cannot display the multi-line method signature.
- Return type of a method should be indicated explicity, otherwise
voidwill be displayed.
Contributing
- Fork it (https://github.com/tamdaz/cruml/fork)
- Create your feature branch (
git checkout -b my-new-feature) - Commit your changes (
git commit -am 'Add some feature') - Push to the branch (
git push origin my-new-feature) - Create a new Pull Request
Contributors
- tamdaz - creator and maintainer